DIY - Créez avec Sico
Créer un mur aux formes géométriques en 7 étapes simples
Comment intégrer facilement une murale géométrique à votre décor
Vous désirez créer une jolie décoration graphique tendance et géométrique sur vos murs, mais vous ne savez pas trop comment vous y prendre? Pas de panique, il est possible d’inclure des formes et des couleurs pour habiller votre déco en un rien de temps! Voici 7 étapes faciles à suivre pour concocter le parfait mur aux formes géométriques, et ce, à votre image.
Ce dont vous aurez besoin :
feuille de papier
crayon
grande règle
ruban de peinture
pot, bac à peinture et pinceaux
Étape 1 : dessiner la forme géométrique
Il faut dessiner votre figure géométrique sur une feuille de papier, puis déterminer les mesures adéquates.
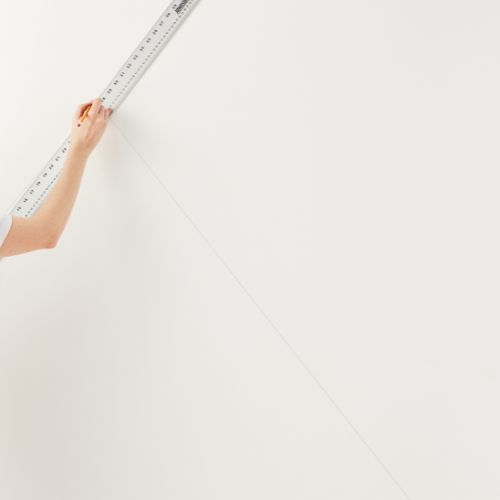
Étape 2 : délimiter la zone
Marquez votre zone géométrique sur le mur à l’aide d’un crayon et d’une grande règle en métal.

Étape 3 : appliquer le ruban
À cette étape, il faut appliquer votre ruban de peintre au-dessus de votre ligne afin que tout ce que vous peignez soit sous la ligne de votre zone géométrique.
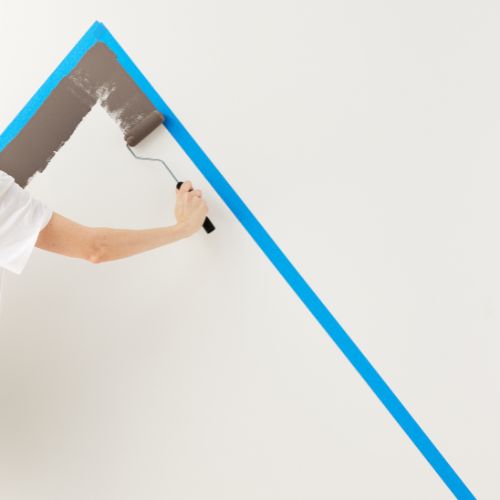
Étape 4 : commencer à peindre
Choisissez une couleur de peinture Sico qui représente le plus l’ambiance que vous souhaitez instaurer, et une peinture qui convient à l’utilisation de la pièce. Puis, commencez à peindre! Si votre forme géométrique part du sol jusqu’au plafond ou touche un coin du mur, commencez par le découpage de ces zones.
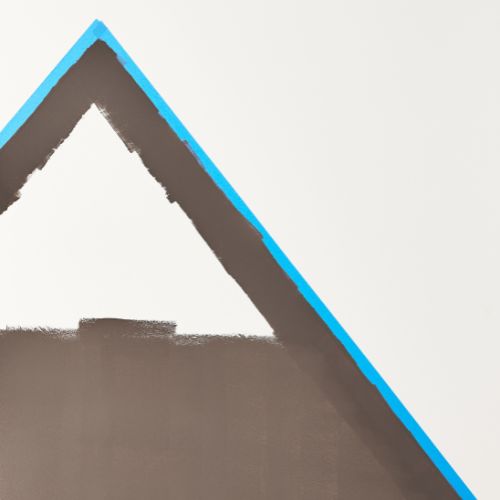
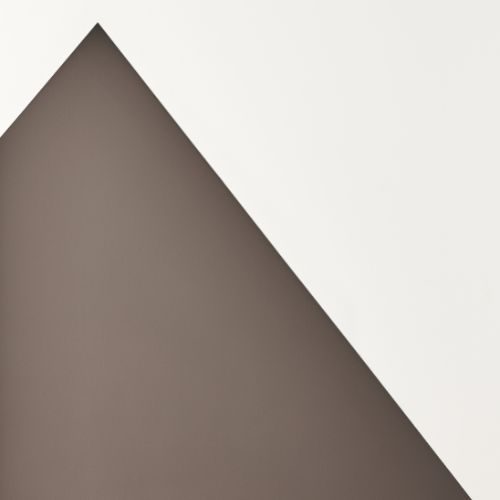
Étape 5 : peigner la zone géométrique
Une fois le découpage terminé, peignez l’ensemble de votre zone géométrique. Selon les formes choisies, vous pouvez opter pour des combinaisons de couleurs. Voici quelques exemples pour vous inspirer.
Étape 6 : retirer le ruban
Avant de terminer, décollez le ruban de peintre pendant que la peinture est encore humide. Ceci vous permettra d’obtenir des lignes plus définies. Laissez sécher et c’est fait.

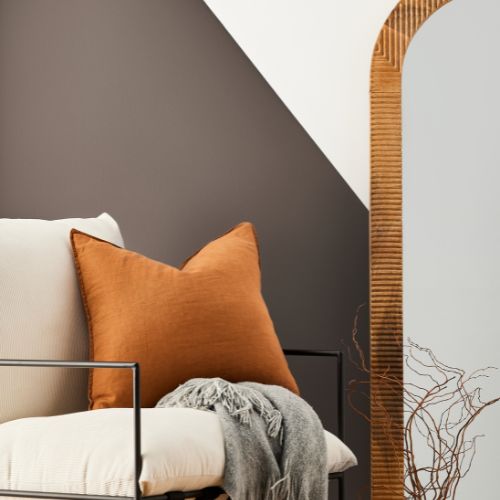
Étape 7 : ajouter les accessoires
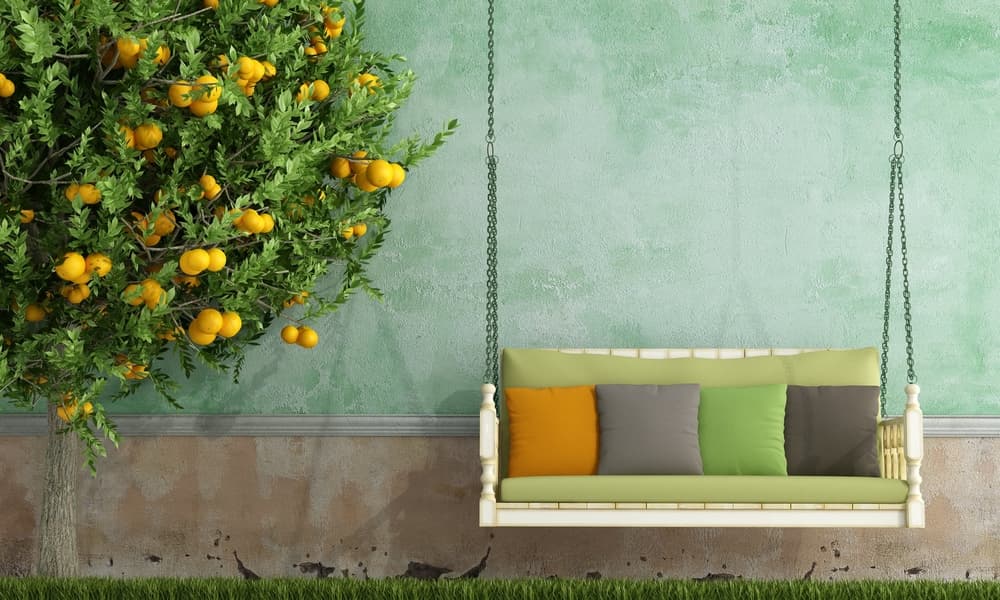
Finalement, il ne reste plus qu’à décorer et à aménager votre pièce avec vos accessoires et meubles préférés.
Et voilà, votre murale géométrique est prête. À présent, profitez du nouveau style tendance de votre espace!
En quête d'autres projets créatifs à faire soi-même? Découvrez notre section DIY!
À LIRE ÉGALEMENT :
- Créer le parfait espace de travail en 7 étapes
- Comment peindre un mur aux motifs arrondis en 6 étapes faciles
Couleur de l’année 2021
Paruline bleue
Vous êtes à la recherche de confort et d’optimisme? Tournez-vous vers la nature et laissez-vous inspirer par notre palette de l’année 2021.
Voir notre couleur de l’année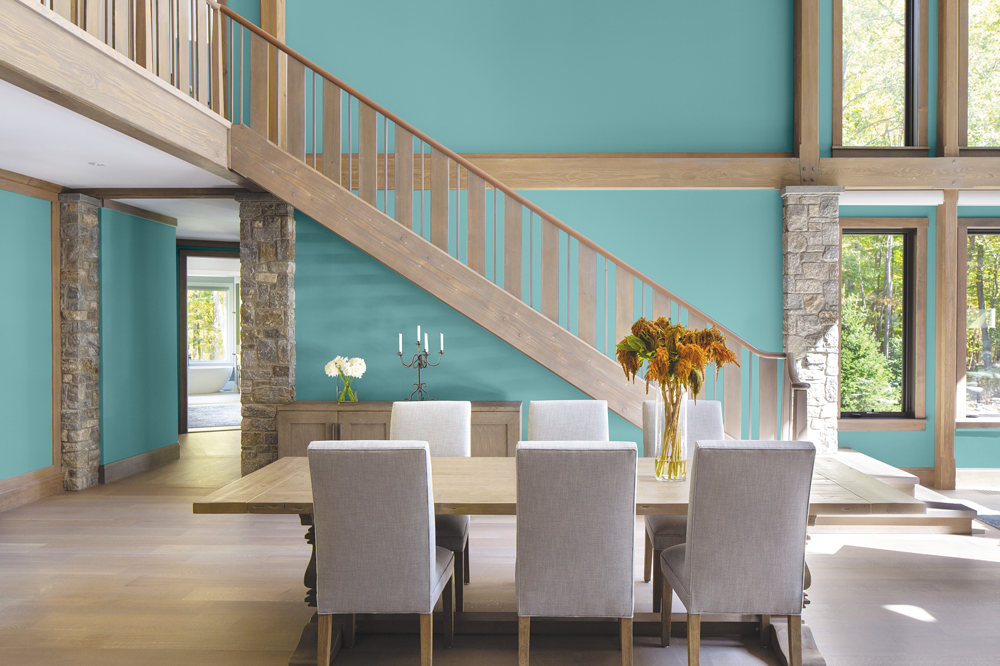
Explorez nos produits
Peintures et teintures de grande qualité pour tous vos projets
Couches de fond, peintures d'intérieur, peintures d'extérieur, teintures d'extérieur, produits pour peintres professionnels
Trouvez la bonne peinture pour votre maison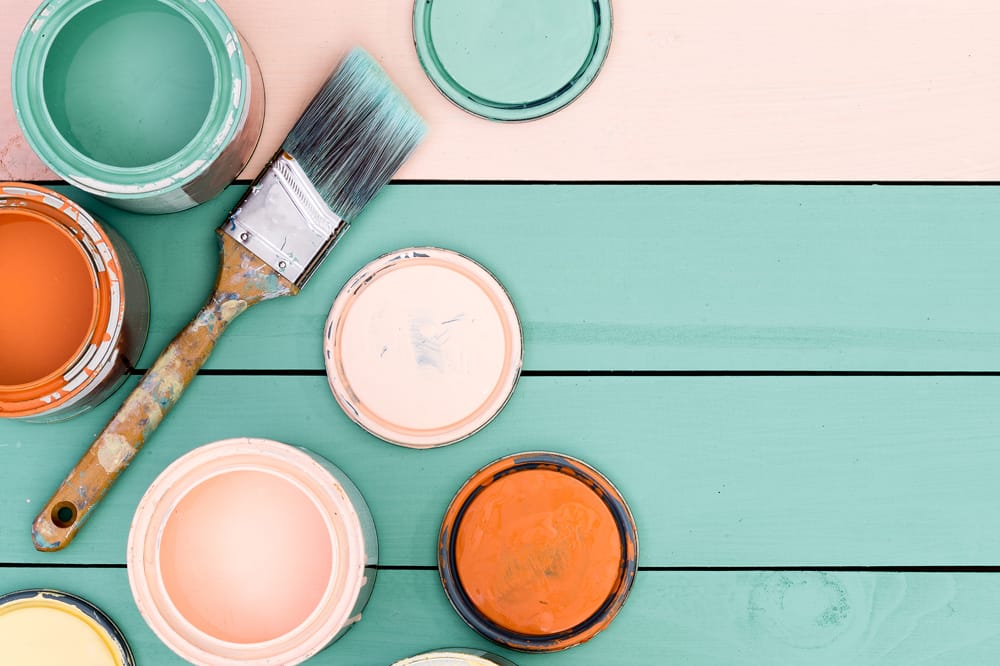
Laissez-vous tenter
Vous laisserez-vous charmer par le style « farmhouse » moderne?
Vous voulez en savoir plus?
Consultez cet article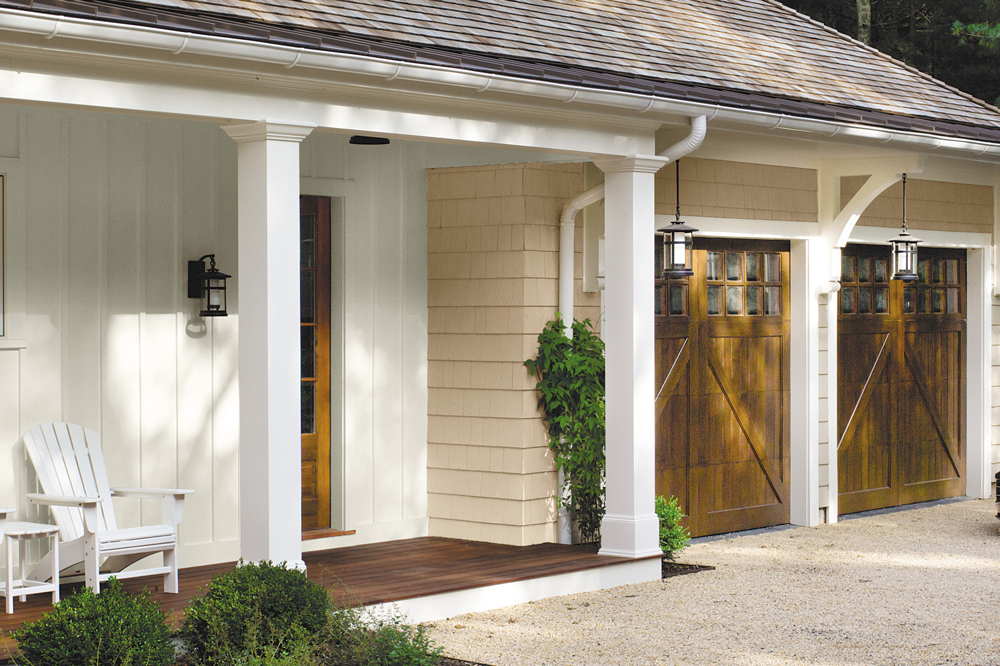

Nos Conseils
Nos conseils pour peindre une pièce et plus
Consultez nos articles pour obtenir des conseils et une foule d'idées sur différents projets de peinture.
JETEZ UN COUP D'ŒIL À NOS CONSEILSNos Conseils
Nos conseils pour peindre une pièce et plus
Consultez nos articles pour obtenir des conseils et une foule d'idées sur différents projets de peinture.
JETEZ UN COUP D'ŒIL À NOS CONSEILS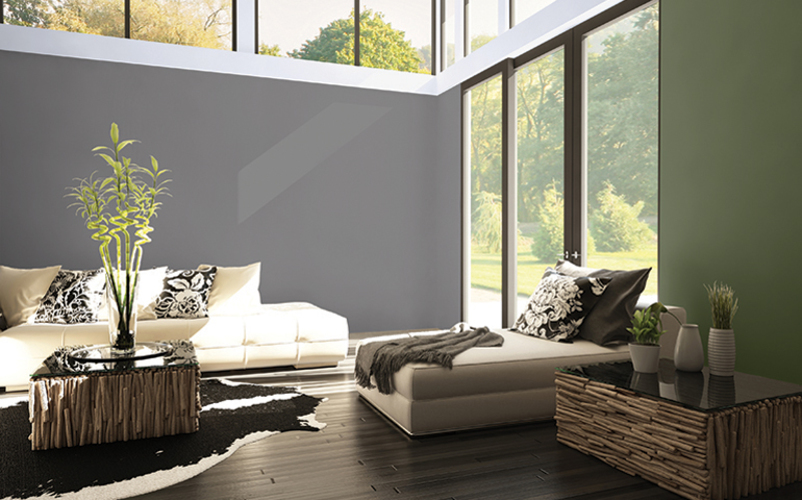
Inspiration couleurs et conseils
Chaque teinte crée une différence
Les tendances ne cessent de changer. Heureusement, les experts en couleur Sico sont là pour vous guider dans vos choix.
Consultez nos idées et conseils